I randomly came across the Philadelphia website while on Facebook and found that they have a wide selection of recipes on there. I have saved a few on my 'to try' list but this one for Savoury Cheesecake really jumped out at me. I've put it under 'snacks' as I think it would make a really good picnic food, however it easily could be a main meal too!
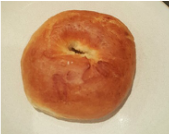
 
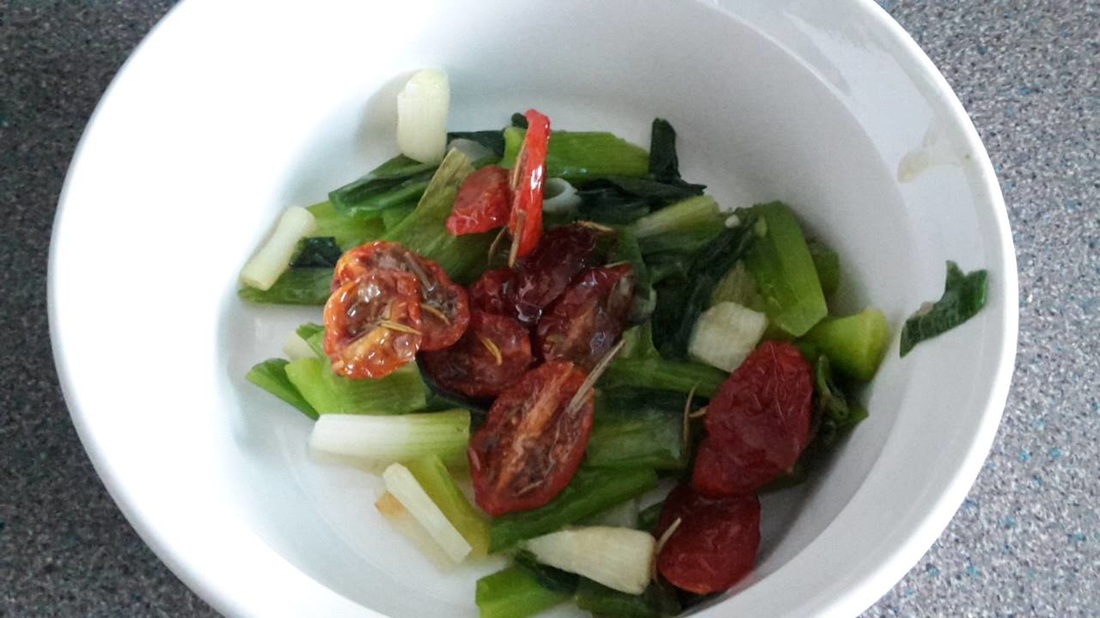
I used fresh chicken, slightly fried, but left over roasted chicken would be ideal for this. I also sauteed some spring onions as none of my family really like leeks as suggested by the recipe. I also used some of my homemade dried tomatoes- all in small chunks (about 1cm or half an inch). Pour the mixture over your biscuit crumb base and top with grated cheese. Then put into the oven. I used a smaller but taller pan so it took over an hour to get completely cooked but you don't have to worry about opening the oven and checking. When it is done, leave to stand for about 10 mins before removing from the pan. I served it warm and fresh from the oven alongside salad, but I do actually think it tasted nicer when cold and having sat for longer. Why not try both? I'm also quite tempted to try these again but with individual portions- just need to find the right tins to cook it in first.
0 Comments
I really love my breakfast muffins and they are really popular in my house. However I couldn't help but notice similarities between these and Tasty's Bread Boat. So I thought that I should have a go and see which was better/ how they were different etc. Here's what I did: It was here that I came up with a problem- I had far, far, far too much mixture left over and no more rolls (or baguettes) to fill. The results? Both were delicious, similar to my muffins but not identical. However the filled rolls did not have enough mixture for my liking, and when I tried to reheat it the next day, it was all rubbery. The long boat however was gorgeous- a bit like a breakfast quiche or a breaded omelet. And it microwaved wonderfully for lunch the next day.
Tl;Dr: Both muffins and boats are yummy and make good breakfasts- but don't bother hollowing out rolls as there won't be enough good stuff.
Then get some slightly sugared water boiling in a large pan. To this, add the bagels one or two at a time (depending on the size of your pot) for two to three minutes. Then place on greaseproof paper. When you have boiled all of your bagels. place into the oven.
I'm not going to lie, I don't make pretty looking food often. I just haven't seemed to grasp that skill. And while my family and friends are happy eating my yummy tasting food, I needn't worry. But this is one of those dishes that looks good if you can pull it off neatly and carefully. Yet is also quite forgiving if you lack those skills like I do.
You can cover in an egg wash before putting into the oven. The heat and time depends on your dough, pastry preference.
I saw these made as a starter on a Come Dine With Me episode and thought that they sounded a really fun and unique way of serving onions. My mum loves onions in any way and with anything so I figured that she would love them even if they were a bit too much for me (I like onion in things but not really when you can tell there are onions). So I got looking for a recipe, but didn't find one that I really liked so I loosely adapted this one from Jamie Oliver.
Put the chopped onions along with some garlic, chopped mushrooms (I used tinned because that was all we had, but I would definitely use fresh or frozen in the future) and fresh rosemary in some butter in a high sided frying pan and fry for a while. Then add some milk and simmer before adding some cheese. Take the outer onions and place in a lightly oiled dish or on a baking tray. Scoop some of the fried mixture and put inside of the onions. Depending on how you want to serve the onions, you can leave it like that, or surround the onion with more of the mixture. You will have so much left over that you may want to put some in a separate dish for extra snacks. Put into the oven at about 200 degrees C.
This next recipe is stolen from my husband. In fact he made it for me as a starter when he was wooing me- and I was certainly wooed! These are to die for and we have made them over and over for dinner parties as starters or just as snacks. And they are relatively easy too! The photo quality of these are a bit iffy- had to use photos taken way back when and via Facebook so please excuse!
Then pop it back in the oven to slightly brown the cheese and to reheat. Finish with a little black pepper to taste and serve whilst warm! I can never get enough of this as a starter which is why I recommend it as a snack instead- that way you can have as much as you want and not have to worry about two more courses!
Another post that I have included as a snack but can be enjoyed as a meal too- Breakfast Muffins. These have been a work in progress for me for a while, so I have multiple variations to share. I love these because they can be prepared in advance and then reheated as needed- great for mornings where you are feeling less than energetic!
We got thinking- could these be made into a loaf- for easier transportation for a picnic or early morning breakfast on the go. So that led me to my next experiment: This was done exactly the same, minus the cheese and breadcrumbs but in a loaf tin instead. Which made a rather nice loaf. This was great and could be reheated in the microwave or in the oven as and when people were hungry. The ends were a bit carb heavy but when you are a carbivore- who cares? My hubby doesn't like eating much store bought bread and prefers to make his own so that led to our final experiment of using our own bread and cooking with the ingredients inside. We made two as we had a veggie staying with us. Simply, make a dough and then place the ingredients inside before cooking. These were made the night before and then sliced up and reheated in the oven before serving. As you can see, most of the ingredients sunk to the very bottom, but with a little bit of butter on the breaded bit, this wasn't a problem! With so many variations, I hope that you find one that you enjoy! Also, let me know if you experiment with the ingredients at all- we tried to add sun dried tomatoes, but found that they were wasted and couldn't be tasted.
Another Lorraine Pascale post this week- and this time an adaptation on her Bacon and Cheese Straws. These are simple, easy and incredibly moorish!
Before you put them into the oven, put them in the fridge for about 20 minutes. Then coat with beaten egg if you are going to be serving these to anyone (just for looks so I don't bother for my own ones) and then into the oven until they look all golden and lovely. Then all you have to do is wait until you can't bear it any longer, burn your fingers and mouth eating them before they are cool. Or is that just me?
I genuinely wasn't sure where to place these- could be completely yummy as a snack, or on the other hand can complete a meal by being a fantastic side dish. I've gone for snack, but trust me, these really are amazing as a side dish- so use as you think is appropriate. Basically, they are just potatoes, garlic, butter and cheese- yet somehow they are so much more than that! Served with steak and just perfection on a plate. Usually the side is there for when you have run out of steak but I was too busy eating these potatoes to touch the meat! And they are really easy to make too which makes them so perfect. Using a sharp knife, cut an uncooked potato into slices, but only about 3/4 of the way down. In the cuts, put crushed garlic (use a crusher for ease) and then butter. From what I can tell from doing this, the more butter the better. Then place in the oven at about 200 degrees for about 1 hour. Use your judgement to tell when they're nearly ready- the first time we did this, they were ever so slightly underdone and having them correct really does make a difference. When they are nearly ready, take them out and cover in grated cheese. Don't worry about being neat with this; the cheese will soon melt anyway! Put back in for about 5 mins and then serve when the cheese is melted. A little seasoning of salt and pepper to taste and voila. Gorgeous!
My nan subscribes to various weekly women's magazines and they occasionally send her free issues of some of their other publications. Which she saves up and gives out to her grandchildren depending on our interests. I'm lucky enough to get both the cooking and gardening issues. Now I can't remember which of the cooking magazines I got this recipe idea from so unfortunately I can't credit it properly. Nor can I give exact ingredient measurements. But these are such a great idea that I plan on adapting and changing and experimenting with them anyway so I suggest you do the same and go with it a little.
Then comes the putting it all together bit. Kneed the dough until you would usually put it into the dish for proving, but this time split it into about ten little balls (depending on how much dough you have). Then roll these out into little circles. In each one, place a good portion of your filling and then roll up and put into a well greased dish. Then leave to prove for about half an hour or until it has risen a little more. Use your judgement because it is probably better than mine when it comes to bread! To make mine extra special, I mixed up some egg and covered it in that. I really love the look of egg washed (is that even the term for it? I don't know) bread. Then into the oven it goes until it looks right. The technique I use for testing is to pop it out of the tin and rap my knuckles on the bottom. If it sounds kind of hollow- it's probably done!
Then it is ready for eating as soon as it is cool enough to handle. I think this would be perfect for a picnic or barbecue. |
SnacksMy favourite type of food- snacks. Here you will find snacks that are so amazing, you won't want to save space for your meals! Archives
January 2016
Categories |